Garlic preorder for 2026 is now open! Here are ten steps to growing great garlic:
10 Steps to Great Garlic
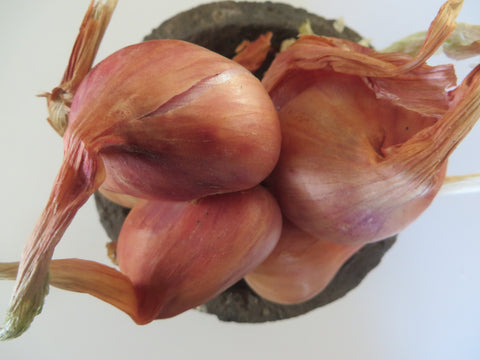
Early fall is the time to plant garlic and shallots! Some of our garlic varieties sell out fast, so preorder soon!
Growing great garlic is a relatively simple, follow these few steps will have you turning out beautiful heads next summer.
1. Plant individual cloves with the root side down 2-3 inches deep and 12" apart September through the end of November, depending on your climate. Wait until after your first frost, but before the ground freezes. It's a pretty forgiving time frame compared to other crops, but garlic that has had a little time to get roots growing will be more frost tolerant when it comes time for deep freezes. Cloves planted upside down will still grow, but will spend more energy getting their leaves to the light and the result will be smaller.
2. Like most garden plants, garlic likes well drained soil and a pH around 6.5-7.5, but garlic can be pretty adaptable. Be sure to choose varieties well suited to your climate. Some varieties overwinter in northern climates better than others. Southern growers will have more success with soft neck varieties.
3. We plant our garlic with a complete organic fertilizer powder. This supplies the plant with fertility during the early stages of growth.
4. MULCH! After planting, mulching with straw will help your garlic weather freezing temperatures, keep it evenly moist, and will delay leaf emergence in the spring. Later leaf protects the new tender leaves from late spring freezes. Garlic is frost tolerant to be sure, but some deep freezes at vulnerable points like new leaf growth can damage leaf tips.
5. Keep garlic weeded. Garlic does not compete well with weeds.
6. After winter precipitation, water about 2 times per week, totaling 1" per week.
7. Fertilize garlic twice in April and May with Fish Emulsion Oil, watering it in with a watering can. Do not fertilize after May 15.
8. Stop watering around June 15th. Harvest garlic after leaf die back when about 5 green leaves are still remaining. Dig carefully, do not simply pull out of the ground. Dust off excess soil before hanging in bunches no larger than 10 heads in a shady, well ventilated spot such as a barn or garage. Here they will cure, the leaves will dry out, and the flavor stabilizes. Curing takes 4-6 weeks.
9. After curing, cut off the roots and stem and clean by dusting with a scrub brush. Ideal storage conditions are dark, with a temperature between 50-70 F and a humidity of 45-55%. A root cellar is ideal, but a cool closet or pantry also might do. Do not store with potatoes or apples, or in the refrigerator. Mesh bags will help garlic stay ventilated and garlic kept in those will store the longest, but in a pinch brown paper bags will work.
10. Remember to save your best bulbs for replanting in the fall! This usually means the larges bulbs, with a good shape and a good representation of the traits of the variety. You can always taste a clove or two!
Seed garlic and shallots are ready for pre-order now. Check out our full line here.